Replacing the battery of your motorcycle is a crucial maintenance task that ensures your bike runs smoothly and reliably. Whether you’re dealing with a dead battery or simply upgrading to a more powerful option, understanding the process can save you time and money. This guide will walk you through each step with clarity, allowing for a straightforward battery replacement.
Before diving into the replacement process, it’s essential to familiarize yourself with the components involved and the tools you’ll need. Knowing the specifications of your current battery will help you choose a suitable replacement that fits your motorcycle’s requirements. Safety should always come first, so be sure to take necessary precautions to avoid any mishaps during the replacement.
In the following sections, we will cover everything from gathering the right tools, disconnecting the old battery, to installing the new one. By following this comprehensive guide, you’ll not only enhance your motorcycle’s performance but also gain a deeper understanding of its electrical system.
Choosing the Right Battery for Your Motorcycle Model

Selecting the right battery for your motorcycle model is crucial for optimal performance and reliability. Each motorcycle has specific requirements regarding battery size, type, and power output. Begin by consulting your owner’s manual, which typically provides detailed specifications including part numbers and recommended battery types.
There are two primary types of batteries used in motorcycles: lead-acid and lithium-ion. Lead-acid batteries are traditional and generally more affordable, but they may require more maintenance. Lithium-ion batteries, on the other hand, are lighter, provide better performance in cold weather, and have a longer lifespan but tend to be more expensive.
It’s also essential to consider the cold cranking amps (CCA) rating, which indicates the battery’s ability to start the engine in cold conditions. Ensure the battery you choose meets or exceeds the CCA requirement for your motorcycle model to avoid starting issues.
Another factor to evaluate is the physical dimensions and terminal layout of the battery. A battery that doesn’t fit properly or has incorrectly positioned terminals can create installation challenges and affect safety. Double-check measurements and terminal configurations before making a purchase.
Lastly, consider the brand and warranty of the battery. Opt for reputable manufacturers known for their quality and reliability. A good warranty can provide peace of mind and protect your investment in the event of early failure.
Safe Removal of the Old Battery

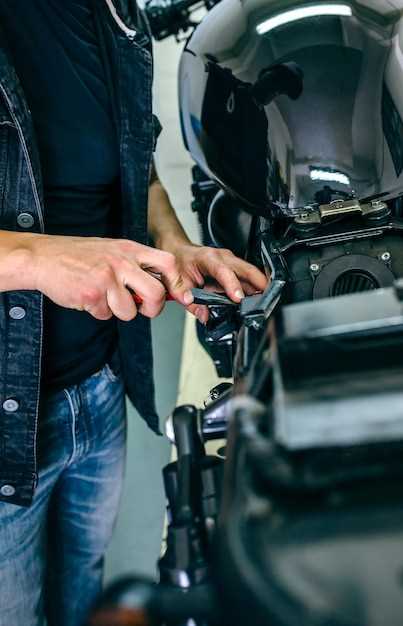
Before starting the removal process, ensure you have the necessary tools ready, including a socket wrench and a screwdriver. Park your motorcycle on a level surface and turn off the ignition completely. Allow the bike to cool down if it has been in use to avoid burns while handling components.
Begin by locating the battery compartment, which is typically found beneath the seat or a side panel. Remove any covers or bolts holding the compartment in place using the appropriate screwdriver or wrench. Always refer to your motorcycle’s manual for specific instructions related to your model.
Next, disconnect the negative terminal first to reduce the risk of short circuits. Use your wrench to loosen the nut on the negative terminal and gently pull the cable away from the battery post. Follow this by disconnecting the positive terminal in the same manner.
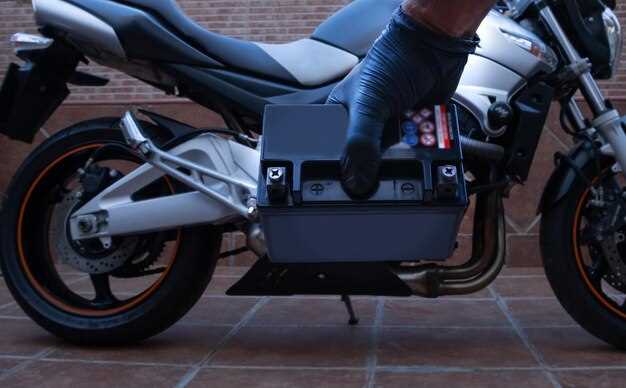
Once both terminals are disconnected, check for any securing brackets or straps that may hold the battery in place. Remove these carefully, ensuring not to damage surrounding components. Grip the battery securely and lift it straight out of the compartment, taking care to avoid tilting or dropping it.
Dispose of the old battery properly, as it contains hazardous materials. Many motorcycle shops and dealers offer recycling services for used batteries. Following these steps ensures a safe and efficient removal, setting you up for a smooth battery replacement process.
Proper Installation of the New Battery
Once you have successfully acquired a replacement battery for your motorcycle, it is crucial to ensure that the installation is performed correctly to maintain optimal performance and safety. Begin by making sure that your new battery is compatible with your motorcycle’s specifications.
Step 1: Prepare the Motorcycle
Before installation, turn off the ignition and remove the key. It’s advisable to wear gloves for added protection against any electric shock. Ensure that the area is well-ventilated and free from any flammable materials.
Step 2: Position the Battery
Carefully place the new battery in the designated compartment. Check that the battery terminals are accessible and the battery is securely fitted without any loose movement. Proper alignment is essential for avoiding short circuits.
Step 3: Connect the Terminals
Begin by connecting the positive terminal first, identified by a plus sign (+). Use the appropriate tools to secure the connection tightly, ensuring there is minimal risk of corrosion or loosening over time. Next, connect the negative terminal, marked with a minus sign (-). It is essential that these connections are firmly secured to facilitate a stable power supply.
Step 4: Final Checks
Once the terminals are connected, double-check the orientation and connections. Make sure that there are no frayed cables or exposed wires that could cause issues. If possible, use a multimeter to verify the battery’s voltage to ensure it has been installed correctly.
Step 5: Test the Installation
Start your motorcycle to verify that everything is functioning as expected. Monitor the dashboard indicators for any warning lights that could signal an improper installation. If the motorcycle starts smoothly, it indicates a successful battery replacement.
With these steps, you can ensure that your new battery is installed correctly and efficiently, contributing to the longevity and performance of your motorcycle.


