


Before hitting the open road on your motorcycle, it is crucial to prioritize a thorough inspection of its key parts. This pre-ride assessment not only ensures a safer journey but also enhances the overall performance of your bike. Taking the time to check essential components can help you avoid unforeseen mechanical failures and enhance your riding experience.
Key areas to focus on during your motorcycle inspection include the brakes, tires, lights, and fluids. Each of these components plays a vital role in your bike’s overall safety and reliability. For instance, ensuring that your tires have adequate tread depth and proper inflation can significantly affect handling and traction. Likewise, checking your brakes for responsiveness can prevent accidents and safeguard your ride.
In addition to the more obvious aspects, don’t overlook other vital components such as the battery, chain, and suspension. A well-maintained motorcycle not only provides a smoother and more enjoyable ride but also promotes long-term durability of the bike. By committing to regular and comprehensive inspections, you can ensure that each ride is as thrilling and safe as possible.
Checking Tire Condition and Pressure for Safety
Before hitting the road on your motorcycle, it is crucial to inspect the tires thoroughly. Proper tire condition and pressure are essential for safety, handling, and overall performance of your bike. Here are key points to consider:
- Tire Condition: Examine your motorcycle tires for any visible signs of wear or damage, such as:
- Cracks or cuts in the rubber
- Bald spots or uneven tread wear
- Bulges or blisters on the sidewalls
- Tread Depth: Use a tread depth gauge or the penny test to measure how much tread is left. Adequate tread depth is vital for wet traction and stability.
- Foreign Objects: Check for any foreign debris lodged in the tire, like nails or glass, which can lead to blowouts or slow leaks.
Once the physical condition is assessed, you should check the tire pressure:
- Use a Tire Pressure Gauge: Invest in a reliable gauge to ensure accurate readings.
- Check When Cold: Tire pressure should be measured when the tires are cold, ideally before riding, as heat from driving can increase pressure readings.
- Follow Manufacturer Recommendations: Refer to the motorcycle’s manual or the sticker on the frame for the optimal tire pressure specific to your bike model.
Maintaining proper tire condition and pressure not only enhances your safety but also prolongs tire life and improves fuel efficiency. Regular inspections are a simple yet vital part of motorcycle maintenance that should not be overlooked.
Evaluating Brake Performance and Fluid Levels
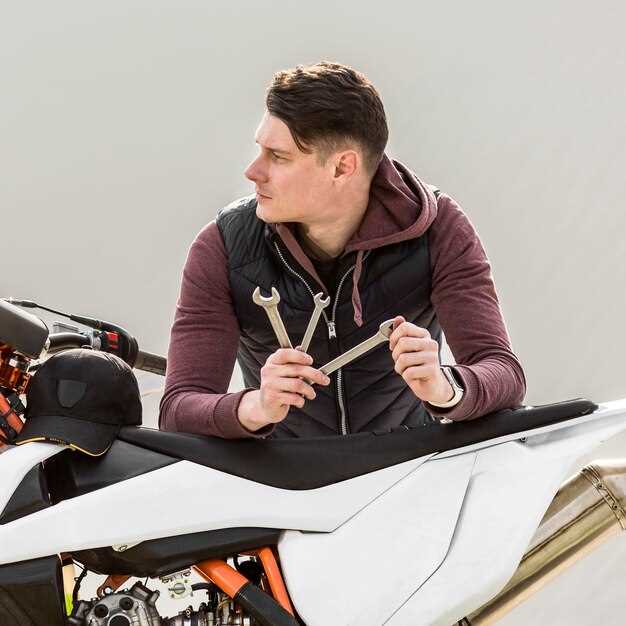
Before hitting the road on your motorcycle, it is crucial to assess the brake performance and fluid levels. Effective brakes are essential for safety, making it one of the primary areas of inspection. Start by checking the brake lever and pedal for any excessive play or unusual stiffness. A smooth and responsive brake is vital for proper handling and stopping power.
Next, inspect the brake pads for wear. Look for any signs of thinning or uneven wear patterns. If the pads are worn down significantly, they need to be replaced to maintain optimal braking performance. Additionally, examine the rotors for any grooves, corrosion, or warping that could compromise braking efficiency. If you notice any issues with the rotors, it may be necessary to replace or resurface them.
Fluid levels are equally important in your bike’s braking system. Check the brake fluid reservoir to ensure it is filled to the correct level, typically indicated by a line on the tank. Low brake fluid can lead to reduced braking power and potential system failure. If the fluid appears dark or contaminated, it should be replaced as it may affect the performance of the entire braking system.
Finally, inspect the brake lines for any leaks or damage. Look for cracks, frays, or any signs of wear that could lead to fluid loss. A thorough inspection will help ensure that your motorcycle’s brakes are in optimal condition, providing you with the safety and confidence needed on the road.
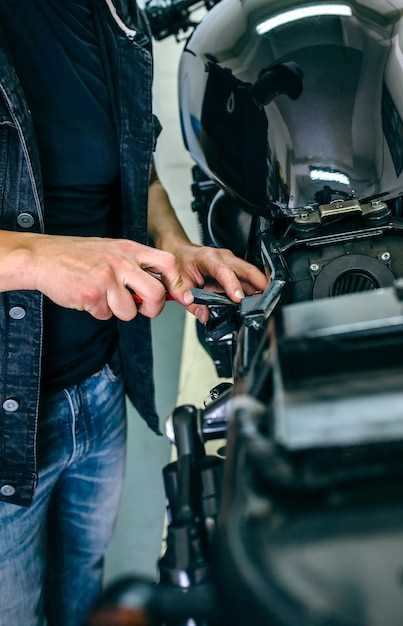
Examining Lights and Electrical Systems for Visibility
Before hitting the road on your bike, it is crucial to conduct a thorough inspection of the lights and electrical systems. Proper functioning of these parts is essential not only for your visibility but also for your safety and the safety of others.
Headlights should be checked first. Ensure they are bright enough and properly aligned. Misalignment can reduce visibility and pose hazards at night or in low-light conditions. Turn on the lights and evaluate their effectiveness, making sure both high and low beams are operational.
Next, inspect taillights and brake lights. These parts communicate your intentions to drivers behind you. Test the brake lever and check if the lights illuminate promptly. A malfunctioning brake light can lead to dangerous situations.
Don’t forget to assess the turn signals. Each indicator must blink at a consistent pace, signaling your movements accurately. Replace any burnt-out bulbs immediately, as they are crucial for safe lane changes and turns.
In addition to external lights, examine the overall state of the bike’s electrical system. Check the battery’s connections for corrosion or loose terminals, which can prevent your motorcycle from starting or cause electrical failures. Make sure all wiring is intact, without signs of wear or damage.
Lastly, review the fuses within the electrical system. A blown fuse can disrupt multiple lights and electronic components, compromising visibility. Replace any faulty fuses, ensuring consistent functionality.
By conducting a comprehensive inspection of the lights and electrical systems, you enhance your visibility on the road and contribute to a safer riding experience.


