


Understanding the role of a fuel filter in your motorcycle’s fuel system is essential for optimal performance and longevity. The fuel filter serves as a critical line of defense against contaminants that can hinder engine efficiency. By trapping dirt, rust, and other particles, it ensures that only clean fuel reaches the engine, ultimately affecting its power and performance.
Regular maintenance of the fuel filter is crucial for ensuring your motorcycle runs smoothly. Neglecting to replace or clean the filter can lead to clogged fuel lines, reduced engine performance, and even severe engine damage over time. Knowing when and how to check your fuel filter will not only enhance your riding experience but also save you from costly repairs down the line.
This article will guide you through everything you need to know about motorcycle fuel filters, from their types to maintenance tips, ensuring your bike remains in peak condition. Understanding these aspects will enable you to make informed decisions regarding your motorcycle’s maintenance schedule, keeping your rides enjoyable and trouble-free.
Motorcycle Fuel Filters: What You Need to Know
Fuel filters are essential components of a motorcycle’s fuel system. They play a critical role in ensuring that the fuel reaching the engine is clean and free from contaminants. Here’s what you need to know about motorcycle fuel filters.
Types of Fuel Filters:
- Inline Fuel Filters: These filters are installed between the fuel tank and the carburetor or fuel injectors. They are typically cylindrical and can be easily replaced.
- In-Tank Fuel Filters: Located within the fuel tank, these filters are designed to capture contaminants as they enter the fuel system. They often require more effort to replace.
- Fuel Pump Strainers: While not traditional filters, these strainers prevent large particles from damaging the fuel pump and are usually integrated into the pump assembly.
Importance of Regular Maintenance:
- Preventing Engine Damage: A clogged fuel filter can restrict fuel flow, leading to inadequate fuel supply and damaging the engine.
- Improved Performance: Clean fuel filters ensure optimal fuel delivery, which contributes to better engine performance and fuel efficiency.
- Extending Fuel System Life: Regularly replacing your fuel filter helps prolong the life of other components, such as the fuel pump and injectors.
Signs That Your Fuel Filter Needs Replacement:
- Decreased engine performance, such as stalling or hesitation during acceleration.
- Difficulty starting the motorcycle.
- Unusual noises from the fuel system or engine.
- Visible debris or discoloration in the fuel.
Replacement Frequency:
It is recommended to replace motorcycle fuel filters based on the manufacturer’s guidelines, typically every 10,000 to 15,000 miles. However, this can vary depending on the type of filter and riding conditions.
In conclusion, maintaining a clean fuel filter is vital for the longevity and performance of your motorcycle. Regular checks and timely replacements will help ensure that your bike runs smoothly and efficiently.
Identifying the Right Fuel Filter for Your Motorcycle
Choosing the correct fuel filter for your motorcycle is crucial for maintaining optimal engine performance. The fuel filter serves as a barrier against contaminants that can damage the fuel system and engine components. To select the right filter, start by checking the motorcycle’s owner manual, which often specifies the appropriate fuel filter model based on the engine type and make.
Next, consider the fuel filter’s micron rating. This value indicates the filter’s ability to capture particles of varying sizes. A lower micron rating means finer filtration, which can enhance engine longevity by reducing impurities in the fuel. However, overly restrictive filters may also hinder fuel flow, so balance is key.
Additionally, you should confirm the physical dimensions of the fuel filter, including its length, diameter, and thread specifications. Ensure compatibility with your motorcycle’s fuel line connections to avoid leaks or supply issues. Some motorcycles require specific configurations, such as in-line or cartridge-style filters, which also affect installation ease.
It’s wise to consider the type of fuel your motorcycle uses. Different fuels can lead to varying sediment levels, making it important to select a filter designed for your fuel type. Check for compatibility with gasoline, ethanol-blended fuels, or any other fuel your motorcycle may use.
Finally, review product reviews and manufacturer recommendations to ensure that the chosen filter has a proven track record of reliability and performance. A quality fuel filter is an investment that contributes to your motorcycle’s overall efficiency and durability.
Signs Your Fuel Filter Needs Replacement
Recognizing the signs that your motorcycle’s fuel filter needs replacement is crucial for maintaining optimal engine performance. One of the first indicators is a decrease in engine efficiency. If you notice a drop in power or responsiveness during acceleration, your filter may be clogged, restricting fuel flow.
Another common sign is difficulty starting the engine. A restricted fuel supply can lead to long cranking times or even failure to start, particularly after the motorcycle has been idle for a while. Additionally, unexpected stalling or frequent engine misfires can also suggest that the filter is not performing its job effectively.
Unusual noises coming from the engine, such as sputtering or popping sounds, may indicate that the air-fuel mixture is off, possibly due to blockages in the fuel filter. Furthermore, if you experience rough idling or if the motorcycle hesitates during acceleration, these could also be signs of a failing fuel filter.
Regular maintenance checks on your fuel filter can help prevent these issues. It is recommended to follow the manufacturer’s guidelines for replacement intervals and to inspect the filter for contamination regularly. Taking these steps can help ensure a smooth and efficient ride.
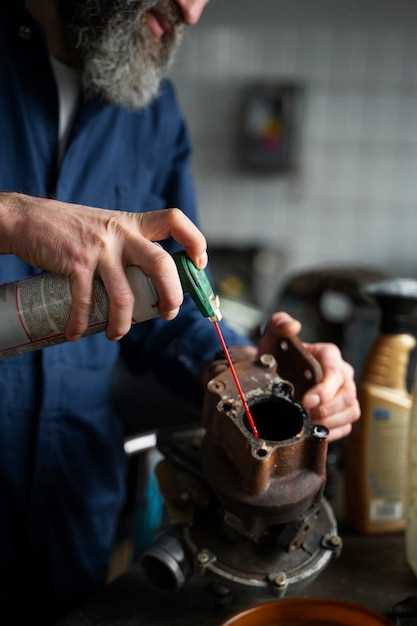
Step-by-Step Guide to Fuel Filter Maintenance
Step 1: Gather Necessary Tools
Before beginning the maintenance process, ensure you have all necessary tools on hand. You will need a socket set, pliers, a fuel line disconnect tool, and a clean rag. Having these tools ready will streamline the process and reduce downtime.
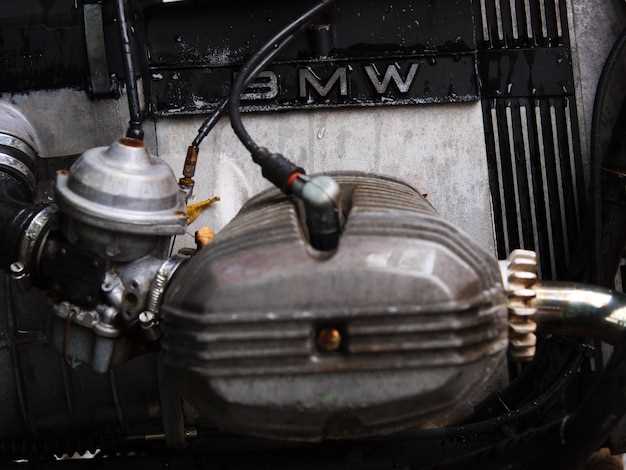
Step 2: Locate the Fuel Filter
Identify the location of your motorcycle’s fuel filter. Typically, this can be found along the fuel line or integrated within the fuel tank if you have a fuel-injected model. Consult your owner’s manual for specific guidance.
Step 3: Prepare for Fuel Spillage
Ensure the area is well-ventilated and cover any surfaces that might be affected by fuel spillage. Use rags to soak up any excess fuel during the maintenance process.
Step 4: Relieve Fuel Pressure
Before proceeding, relieve the fuel system’s pressure. This can usually be done by locating the fuel pump fuse and removing it while the engine is running until it stalls. This step prevents unexpected fuel sprays.
Step 5: Disconnect Fuel Lines
Carefully disconnect the fuel lines from the filter using pliers or a fuel line disconnect tool. Be prepared for some fuel spillage and catch it with your rag. Ensure you remember or mark the orientation of the lines for reassembly.
Step 6: Remove the Old Fuel Filter
Once the lines are detached, remove the old fuel filter. Depending on the model, it may require loosening clamps or screws. Ensure the filter is disposed of properly, as it may contain contaminants.
Step 7: Install the New Fuel Filter
Take your new fuel filter and install it in the same orientation as the old one. Ensure it is secured tightly with clamps or screws to prevent any leaks.
Step 8: Reconnect Fuel Lines
Reconnect the fuel lines to the new filter, ensuring they are snug and correctly positioned. Double-check that all connections are secure to avoid leaks.
Step 9: Restore Fuel System Pressure
Reinstall the fuel pump fuse and turn the ignition on without starting the motorcycle. This will allow the fuel pump to prime the system. Check for any leaks around the filter and fuel lines.
Step 10: Test Ride
After completing the installation, take your motorcycle for a short test ride. Be attentive to any changes in performance or unusual sounds that may indicate issues with the fuel system.
Regular maintenance of the fuel filter is essential for the longevity and performance of your motorcycle. Following these steps will help you ensure your motorcycle runs smoothly and efficiently.


